
In the Hexihub system, Delivery Notes can be created in two ways, one is to create a Delivery Note from a Job and the other is to create a Delivery Note from an Estimate whilst creating a Job.
This article is going to explain how to create a Delivery Note both ways and also troubleshooting common issues.
TABLE OF CONTENTS
Creating Delivery Note from a Job
1. When a Job has been created, under the "Quick Links" drop-down menu, select the "Delivery Note" Create link, this will make a pop-up appear.

2. On the pop-up select which items to be included in the Delivery Note, then select "Create Delivery Note".

3. When everything looks correct, select either "Raise & Stay" or "Raise & Close".

Then the Delivery Note is created.
Creating Delivery Note from a Estimate
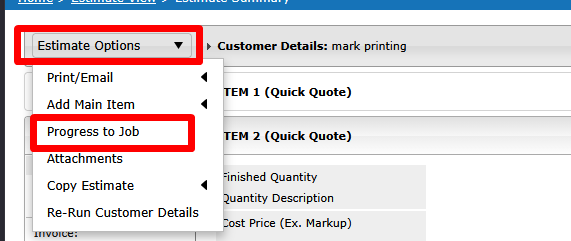
1. When an Estimate has been created, using the "Estimate Options" drop-down menu, select " Progress to Job"
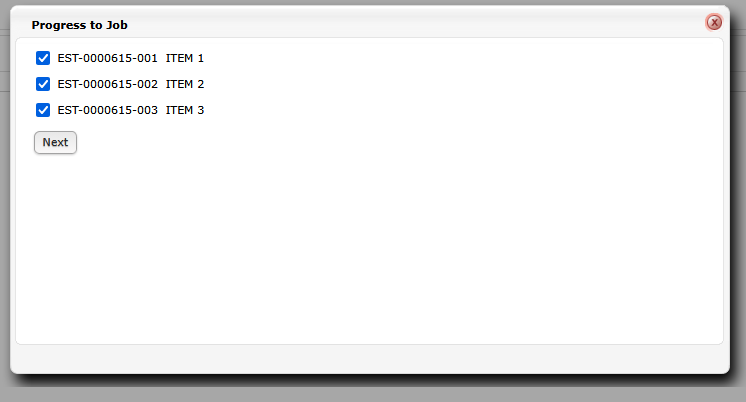
The first pop-up lets you choose what Item or items should be progressed to become a job. After choosing, click Next.
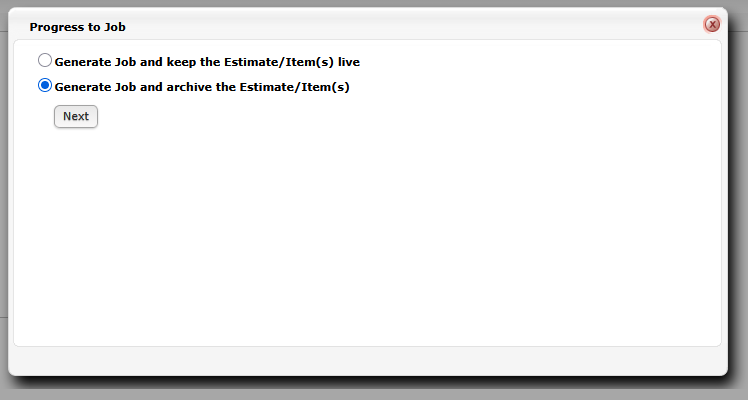
The second pop-up allows you to choose if you want to keep the Estimate live or have it archived, after choosing click Next.
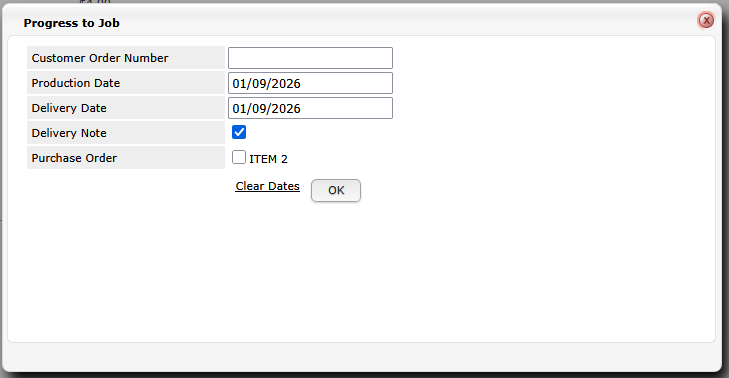
2. The next pop-up allows you to configure the dates as required, and there are tick boxes to create a Delivery Note and also a Purchase Order. After making your selections click OK.
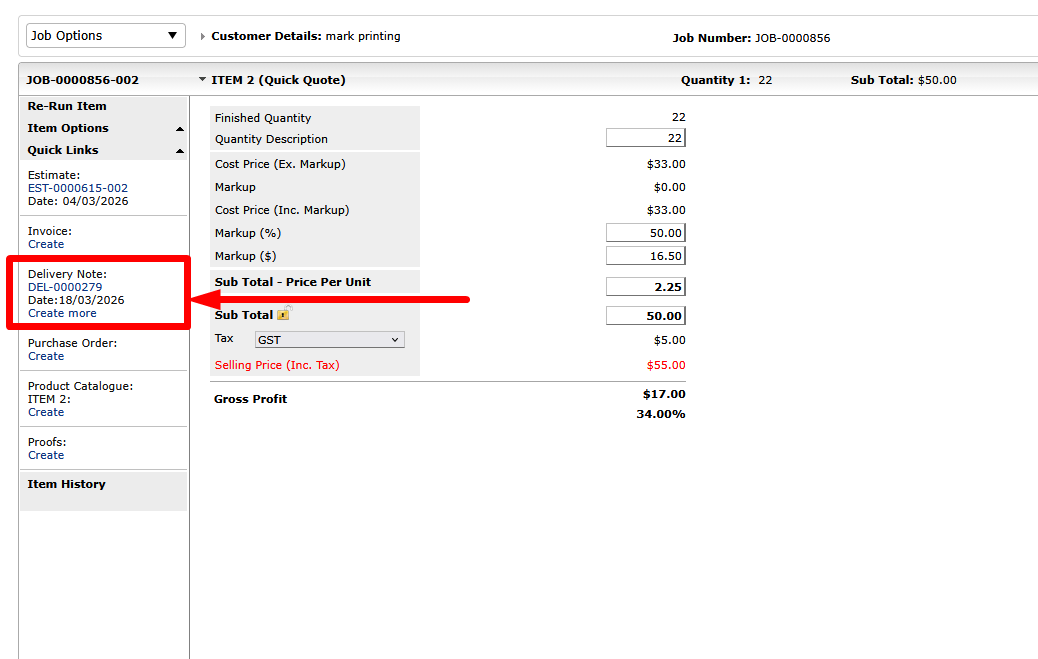
After clicking OK, The system will take you to the job record. In the Job Quick Links, you will see a link to the Delivery Note. You can access the Delivery Note record by clicking on that link.
Troubleshooting
If you receive a pop-up when selecting "Raise & Stay" or "Raise & Close" by adding Qty Produced or Qty fields.

This is caused by having numbers that are dissimilar in these two fields "Qty Produced" and "Qty":

To solve this, just select the save button:

Then the Delivery Note will be created.
If you have any further questions, please contact Support.