
Workflow 1 - Create a stock replenishment job with a PO and add the stock from the PO.
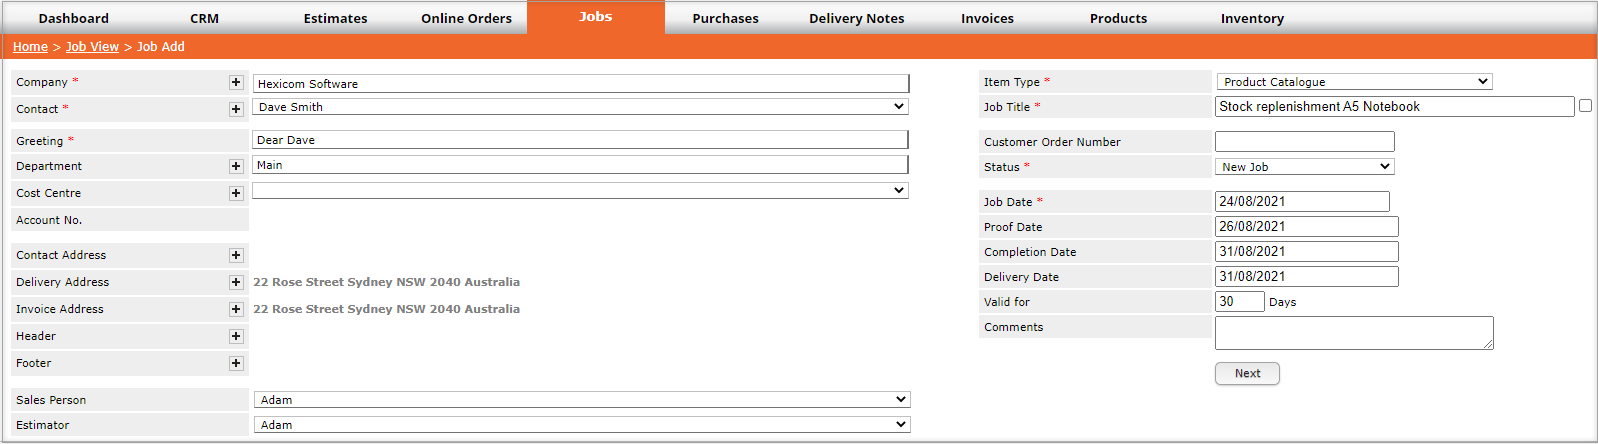
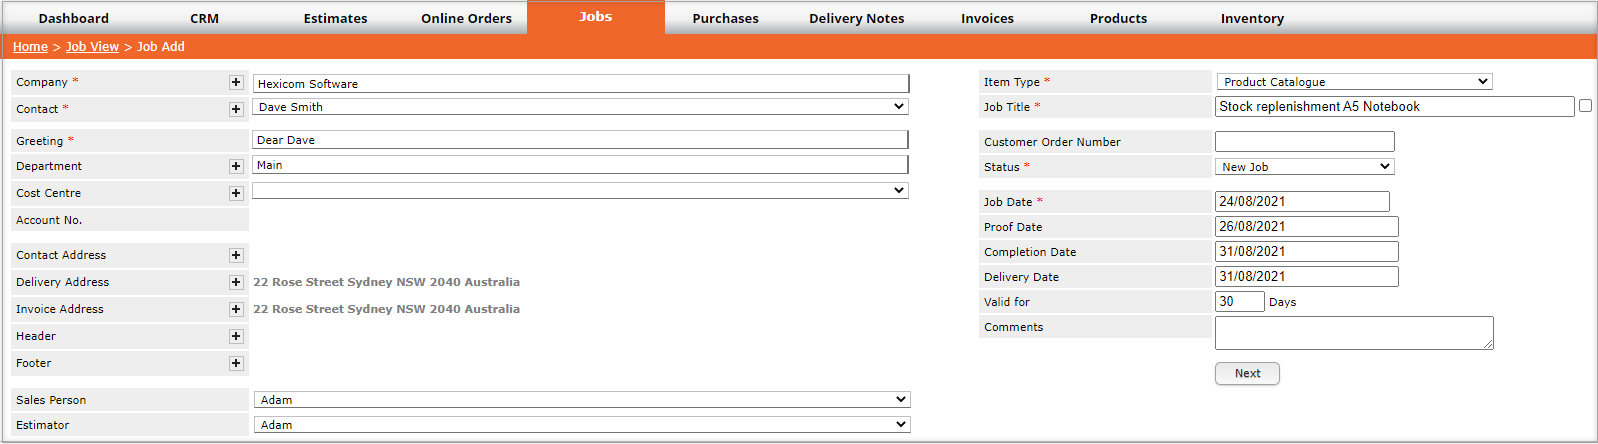
1. Create a New job (not an estimate) and select a stock product.
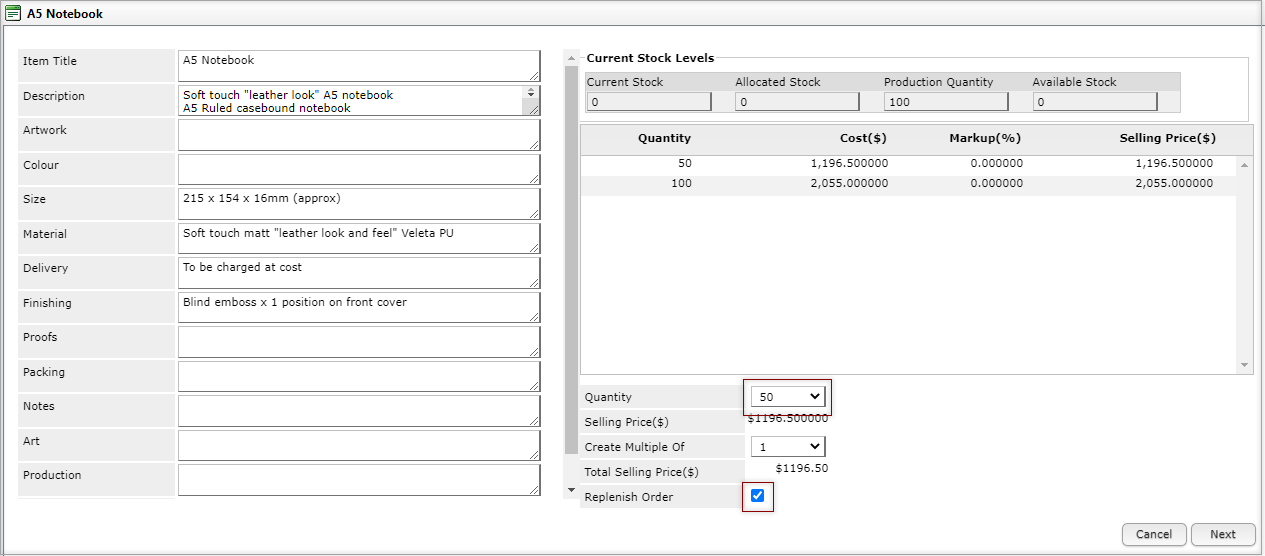
2. When prompted enter the Quantity to order, ensure there is a tick in the tick-box in Replenish Order
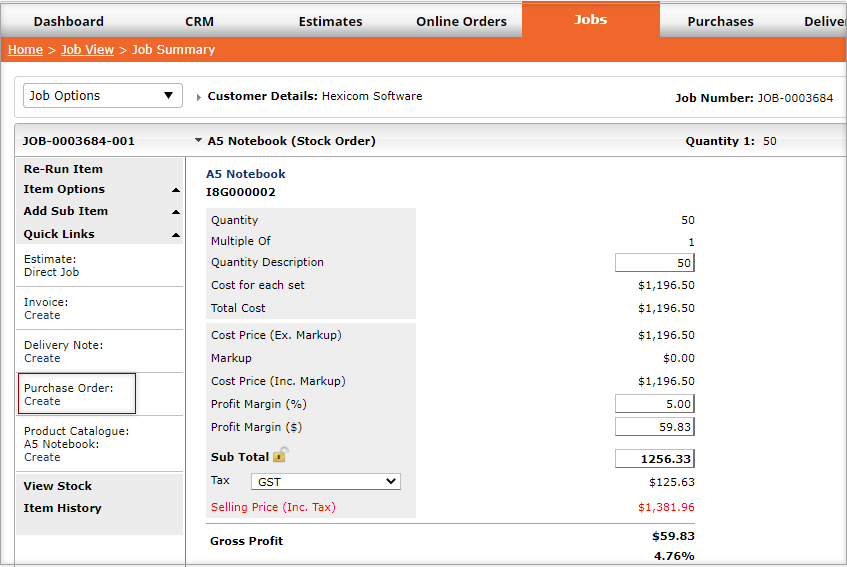
3. Use the Quick Links panel to add a Purchase Order to the job,
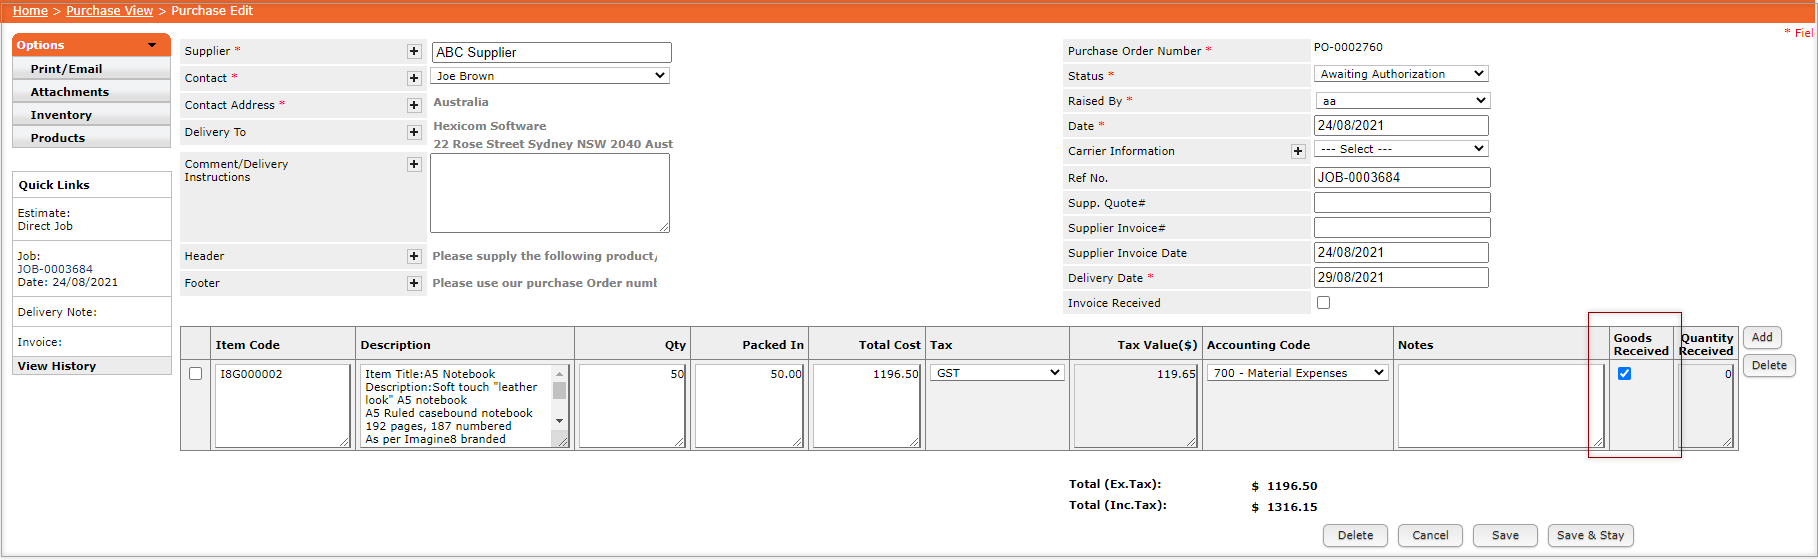
4. When the goods are received open the Purchase Order, tick the option to indicate goods are received, then click Save and Stay.
5. The replenishment pop-up will be displayed, add the quantity of stock received and click Save.

Note: The product history will now show the stock replenishment and the PO will no longer appear when clicking the link in the dialog box View PO.
Workflow 2 - Create a stock reduction job to release stock from the warehouse
1. Create a New job (not estimate) and select a stock product,
2. DO NOT tick Replenish Order.
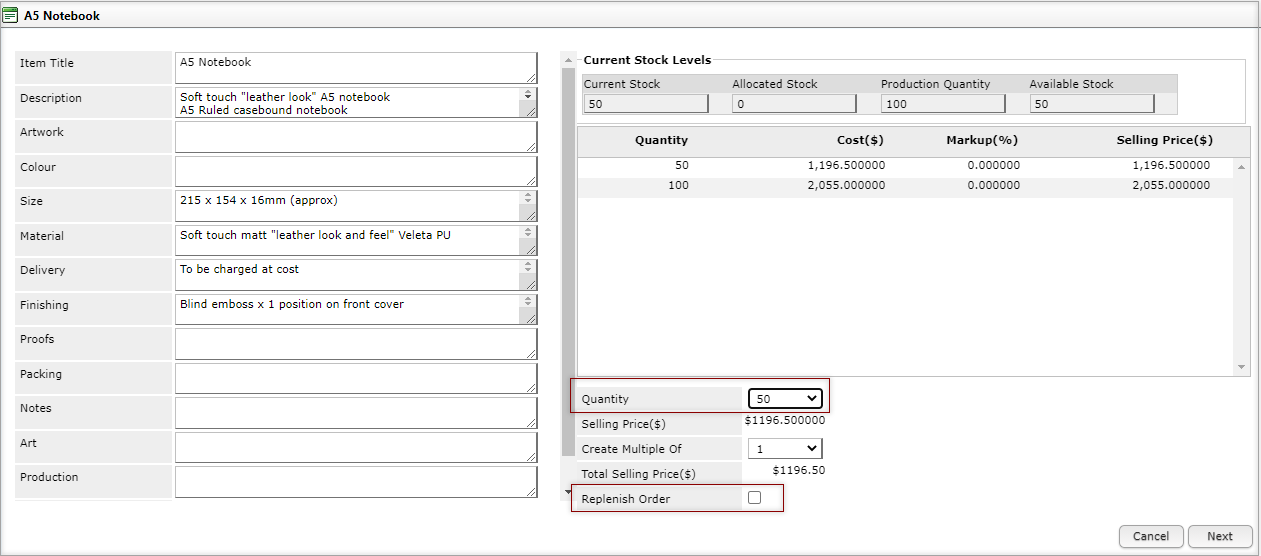
Note: In the product history the stock allocation is shown and also in the view allocations view of the stock pop up.
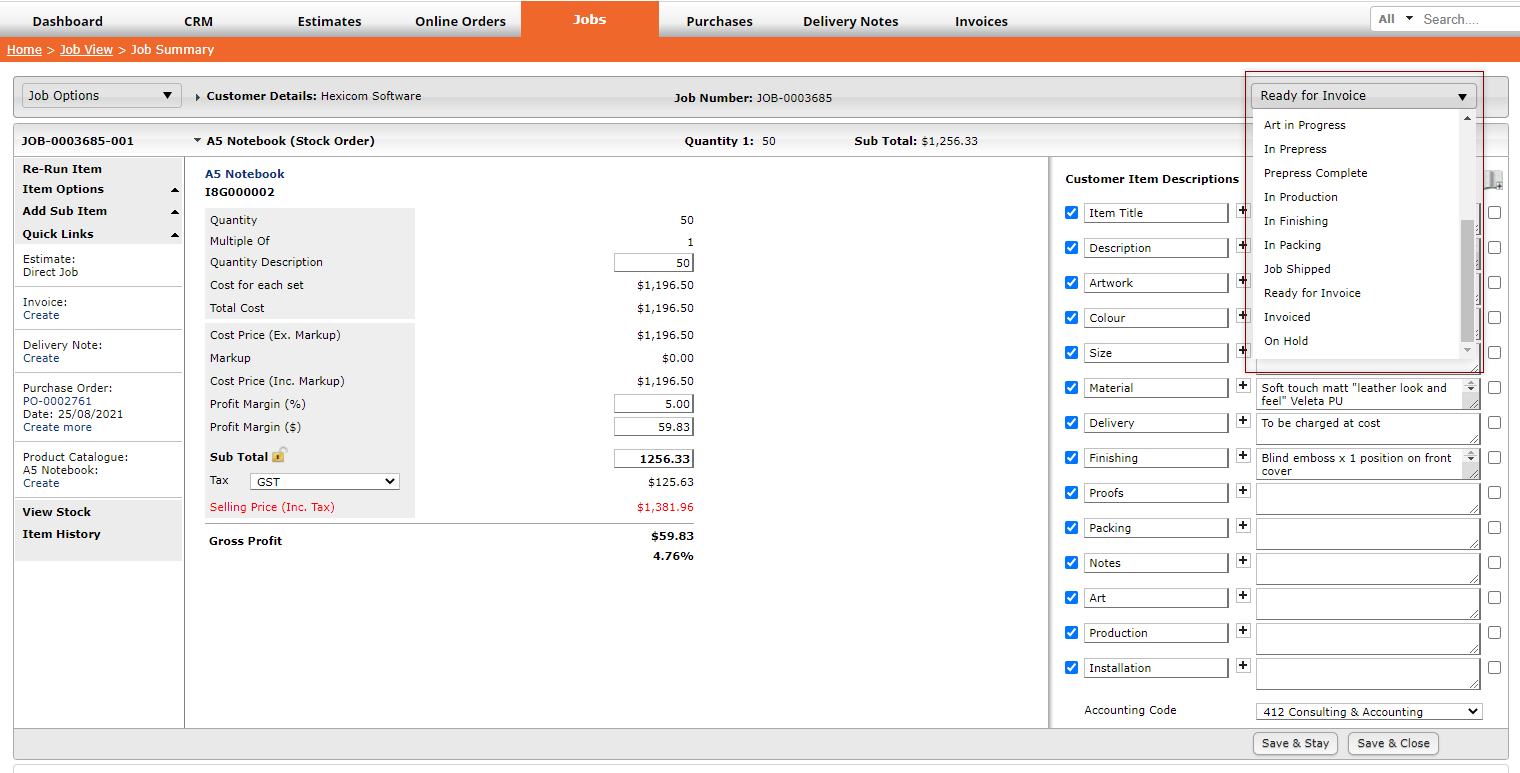
3. In the job allocate it a status so the user responsible for the warehouse knows that the job needs to be picked and packed and released from the warehouse.
4. Once the product has been released from the warehouse go into the job and change the status to the status that triggers the stock reduction, the system will reduce the stock and history of that process is recorded.
Further Information
- The Warehouse Module
- Warehouse Settings and Defaults
- Warehouse Location Settings
- Setting and Changing the Status
- Creating a Stock Product
- Creating an Estimate for a Stock Product
- Warehouse Workflow Scenarios (Replenishment Jobs)
If you have any further questions, please contact Support.